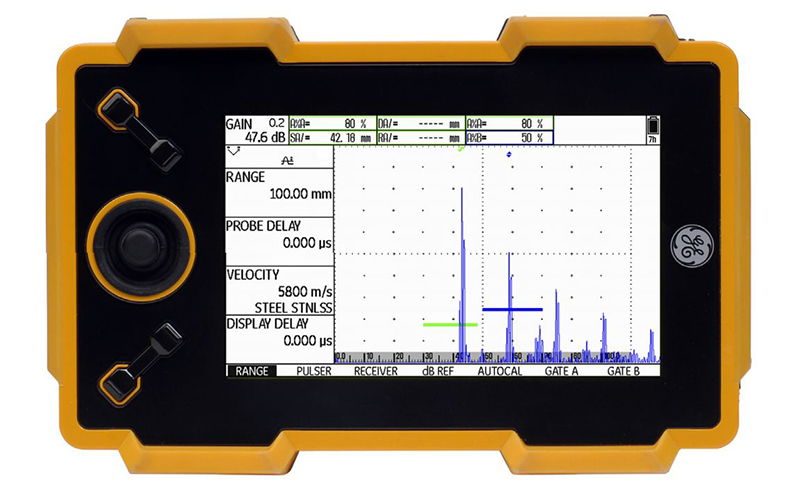
Today, we’re throwing the spotlight on one of our most popular products here at Berg Engineering: the DMS Go. We believe that education produces more informed decisions. We’d like to educate you on the DMS Go to help you determine if this is the unit for your application.
The DMS Go from GE Inspection Technology is one of the most powerful hand-held thickness measurement devices on the market. You can use it in a wide range of industrial applications. It provides accurate, comprehensive inspection data time after time.
Each unit is built with the same state-of-the-art industrial electronics and operating platform as the USM Go Flaw Detector. Not only does this provide better quality control, it also makes upgrades easy. With a simple software installation, you can add the functionality of the USM Go to make a comprehensive, versatile unit that functions both as a thickness inspection gauge and as a flaw detector. This upgrade saves inspection personnel from carrying multiple pieces of bulky equipment.
Further software extensions increase the functionality of the DMS Go even more. For example, the TopCOAT add-on lets you measure not only material thickness, but also the coating on the material. Another add-on, Auto-V, enables the unit to measure thickness on components with unknown sound velocities and without the need for constant recalibration with a calibration block.
If your work falls into any of the categories below, then the DMS Go is an indispensable tool on the jobsite.
Oil & Gas Production
- Inspection and monitoring of interior corrosion in tubes, vessels and tanks
- Measurement of remaining wall thickness through paint coatings
Power & Energy Generation
- Inspection of tubes with complex geometry
- Monitoring of boiler efficiency through the measurement of oxide scale in boiler tubes using an accessory probe OSS-10
Aerospace
- Maintenance and structural integrity inspections
Metallurgical Industry
- Thickness measurement of austenitic materials


